Serverless Computing is a popular model that helps Start-Up companies develop and deploy their world changing apps quicker and easier, without actually having to worry about configuring and managing the hosting infrastructure.
Netlify is one of these great innovative Serverless Computing services that enables you launch a website in a matter of minutes and provides a whole of host great tools and services to not only help you develop your next big idea but also to help you manage it effortlessly!
In fact, in developing our idea for Geek.I.Am, we've chosen Netlify as our platform of choice. In our opinion, Netlify is a great platform if you want to learn something new, that you can really dig into and a platform that works just fine for small projects or large projects. You can Use it for sandbox development or even something more substantial.
Netlify offers web hosting and automation solutions for businesses. It speeds up the static site set up and lets companies start hosting instantly. Users can drag and drop components onto the Netlify web application or import resources from Git repositories.
Netlify enables users to reference specific branches for Git repository hosting. The platform allows users to surpass all requirements for set up and maintenance for launching web projects.
- Automated builds from Git
- Deploy to global Edge network
- Site previews for every push
- Instant rollbacks to any version
- Deploy static assets & dynamic serverless functions
One of the great features Netlify provides to help you to implement dynamic content into your Jamstack static website, is Netlify functions.
Functions are scripts that you write and deploy with Netlify. The function’s code is hidden from the public, but you can interact with it just like any other API service. Just as with your site code, Netlify takes care of deploying your scripts into functions.
Netlify CLI
One of the tools that makes working with Netlify so easy and saves a lot of time, is the Netlify CLI. Netlify's CLI tool enables you to configure, manage, deploy and automate aspects of your development workflow directly using the command line!
You can use the CLI to spin up local development server and test your website as it would be once deployed! The CLI comes with utilities to help you quickly and easily develop and test Netlify functions. Get started with Netlify CLI provides all the information you need to get up and running with the Netlify-CLI quickly!
In this, post we will be making use of the Netlify to develop and deploy a netlify function. We will be using Netlify site to only host our functions. Along the way we'll learn all the important basics we'll need to expand on this and develop more complex functionalities.
Create a local development directory
Create a directory on your local machine for your project.
mkdir geekiam-tutorials && cd geekiam-tutorials
At this point you could create a local and remote git repository to store your project, why not checkout our great guide on How To Create A New Github Repository Using The Terminal
Create a Netlify Configuration file
Our next step involves creating a netlify.toml which is a file where we configure how the site builds and where
your serverless functions can be located within our project.
This file is a TOML configuration file that aims to be a minimal configuration file format that’s easy to read due to obvious semantics.
TOML is designed to map unambiguously to a hash table. TOML should be easy to parse into data structures in a wide variety of languages.
Add a [build] section to inform netlify, your functions will be found in a folder we'll name functions.
For the purpose of our application, we will be configuring the bare minimum, in order to just get our very simple function out there. It is well worth taking the time to read the File-based configuration to understand more about what is possible with File-based configuration.
[build]
  functions = "functions"
Next we'll create a new folder and name it functions, then we'll also create a new folder
and name it sayhello which will be our first function folder.
mkdir functions && cd functions
mkdir sayhello && cd sayhello
Develop a simple function
We now need to add a Javascript file and open the file for editing in any editor of choice. In my case I will simply
use nano
touch sayhello.js && nano sayhello.js
We can now add the following JavaScript code. Our function is going to really simple, in that it only will return a with a greeting. However, it contains just enough complexity in it which requires some explanation.
exports.handler = async (event, context) => {
  return {
    statusCode: 200,
    body: JSON.stringify({
      message: 'Hello from Geek.I.Am',
      event: event,
    })
  }
}
Netlify enables you to do develop functions supporting either synchronous or asynchronous invocation. For the sake of this tutorial we'll be making use of asynchronous.
Netlify uses AWS Lambda under the hood, so you can checkout documentation and learning materials about creating AWS Lambda functions for what kind of code can go in there.
Netlify gives us have a generous free tier limit, with up to 125.000 function invocations and a total of 100 hours of run time every month. Functions have 128MB of memory and each can execute for up to 10 seconds.
All functions must implement a method named handler
exports.handler = async (event, context) => { }
If you are familiar with AWS Lambda, the function code will be familiar to you:
event: object contains data on the requestcontext: user information when using Identity for user authentication.
All we do in our function is return a simple Javascript promise with a status code, message and event information.
return {
   statusCode: 200,
   body: JSON.stringify({
     message: 'Hello from Geek.I.Am',
     event: event,
   })
 }
Initialise the Netlify Local environment
We can now test our function locally to ensure it works as expected. To this we can simply spin up
the netlify dev from our project root folder.
cd ../.../../functions/..
netlify dev
This will launch netlify development environment, by default our site will be available on http://localhost:8888.
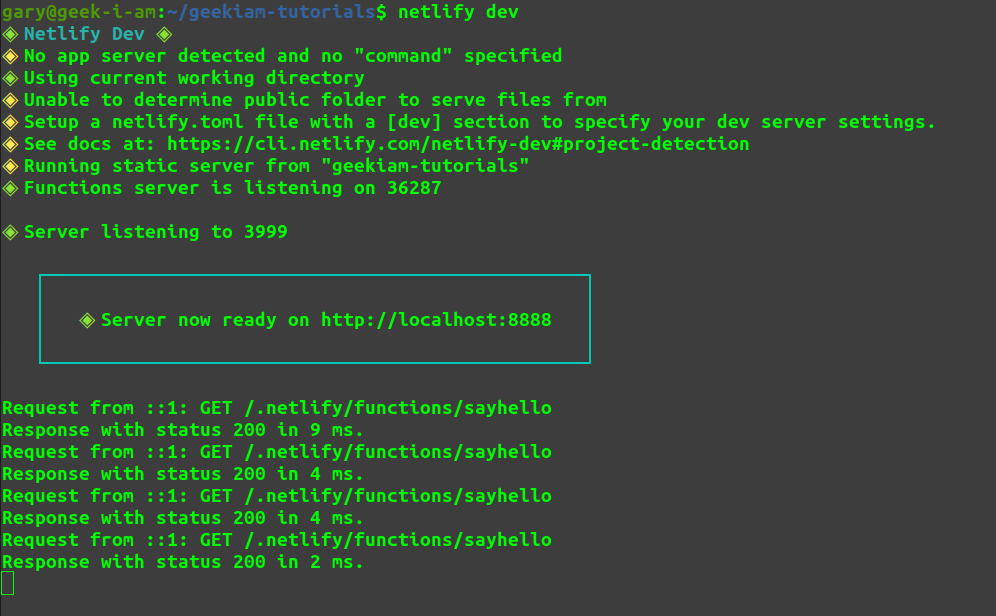
We can now use cUrl to query call our lambda locally and test its response from the command line. Curl is command line tool that enables you to interact with API's, to learn more about read What is cUrl
curl --location --request GET 'http://localhost:8888/.netlify/functions/sayHello'
We can also simply open a browser and navigate to the following Url
http://localhost:8888/.netlify/functions/sayhello and will see the response of our simple function.

You have confirmed our functions worked! We can now deploy our super simple function to a production environment.
Prepare deployment environment
We can now create and deploy the function to our production environment straight from the CLI. In our case we will
manually create a new hosting and name our application geekiam-tutorials.
We don't need to leave the CLI at all, to create a website, in fact we can requisition our entire deployment infrastructure with one simple CLI command.
netlify init --manual
This will initiate a wizard workflow to enable netlify get some additional information it requires to set up a website for us.
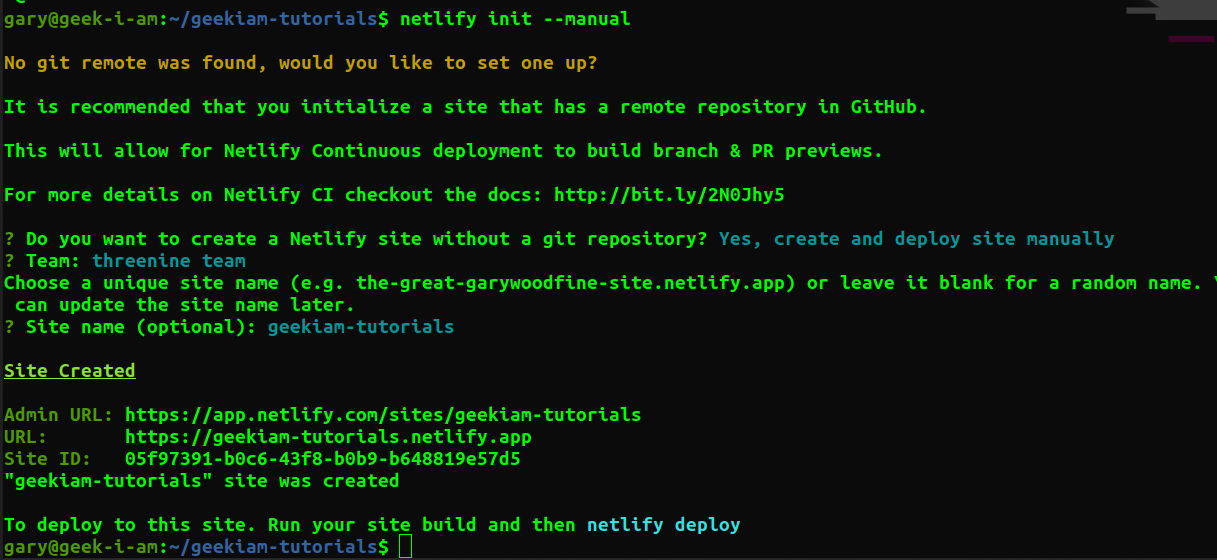
Deploy to staging environment
We can now use netlify deploy to deploy our functions. This will deploy our function to a "staging" server
to enable us to test our functions
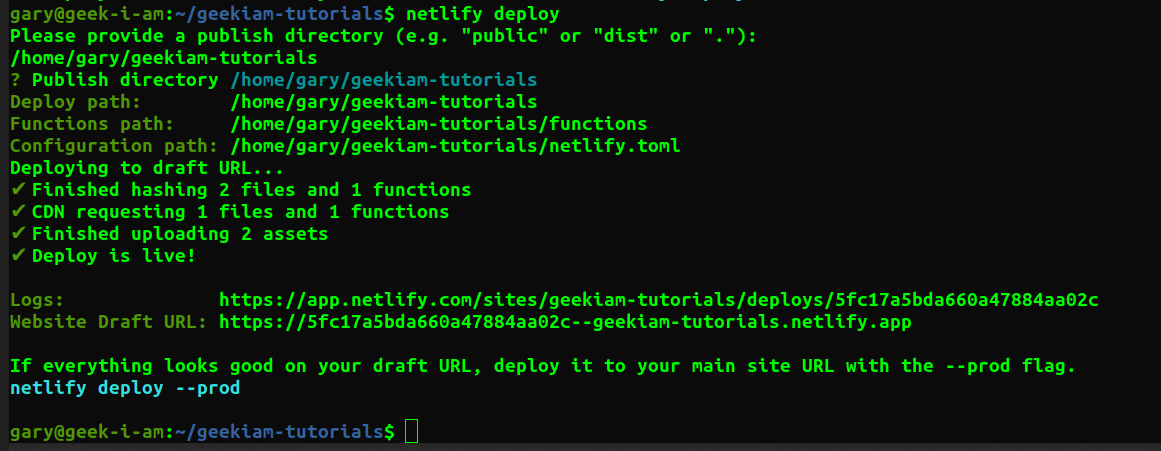
we can test our staging environment function by using with the temporary url that has been created for us.
curl --location --request GET https://5fc17a5bda660a47884aa02c--geekiam-tutorials.netlify.app
We can also visit the draft website Url and append the path to our function, we'll see our function respond
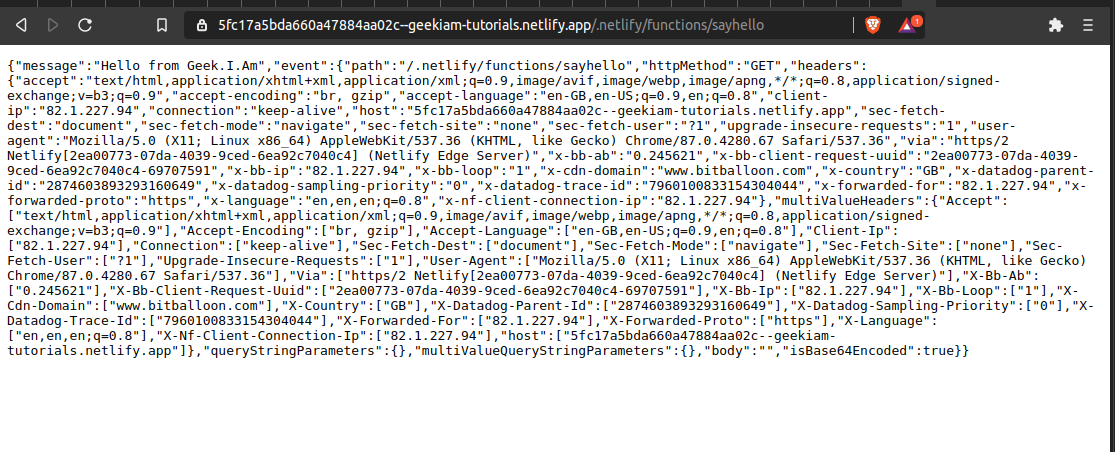
Deploy to production
Our function works as expected, so we can now deploy it to our production server using
netlify deploy --prod
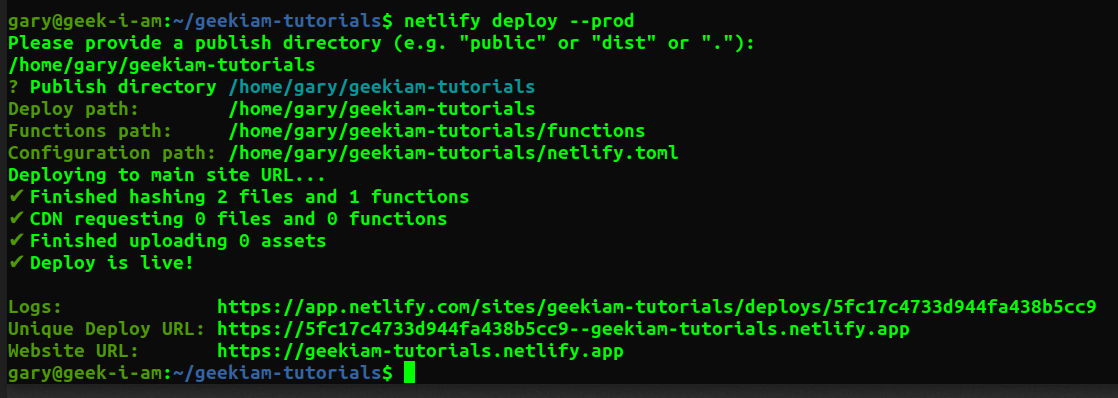
Once the site has been deployed, we can now use curl again to query function and test it
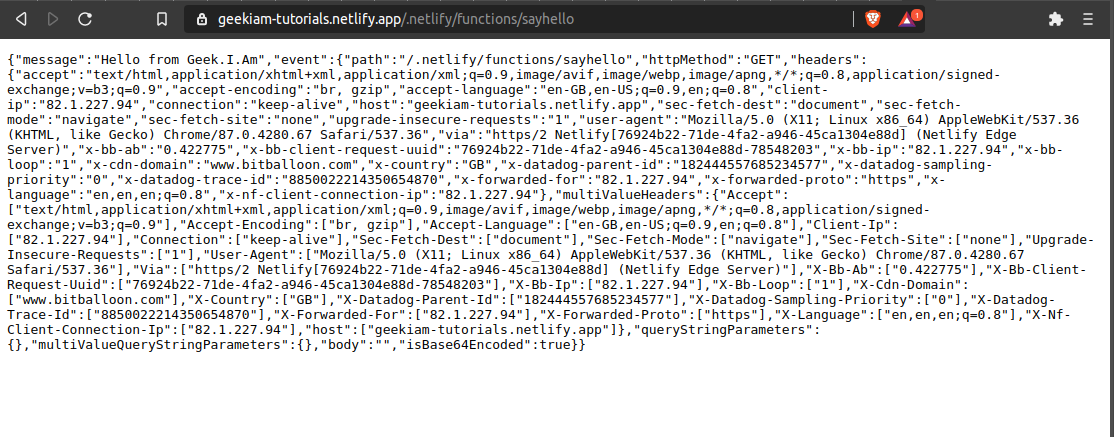
curl --location --request GET https://geekiam-tutorials.netlify.app/.netlify/functions/sayhello
We can also visit the production url and append the path to our function, we will see the production instance of our function respond.
Conclusion
We have managed to develop and deploy our function without really having to leave our console. This makes working with netlify so easy and enables developers to concentrate on the things they do best, developing software applications.
